Monday, April 12, 2010

Coney Island fabric Shoot: Due May 3

On April 19 we went to Coney Island to do a photo shoot!

Assignment:
Please bring a piece of fabric (any color except black white or gray). You can shoot the fabric however you want when we're at Coney Island- as a still life, fashion etc...but come up with a plan. This project is reminiscent of what it may be like if you were asked to shoot a clothing catalogue. It is important that the colors in the photograph match the actual fabric being sold. The goal of this assignment will be to get your print to match the color of the fabric. You will have to hang the piece of fabric next to the print in Crit on May 3. Use a Macbeth Color Checker Chart during the shoot to achieve accurate colors.

DUE APRIL 26:
4x6 proofs of 10-15 of your best images from the fabric shoot. We will help each other edit it down to 5.

DUE MAY 3:
Five GOOD Prints from the fabric shoot that create a mini-series. 8x10 Size, whatever paper type you want. Remember to use the color profile or ICC profile that worked best the last time you made prints. Hang the fabric along side the images on the wall during critique to compare color.

Using the Macbeth color Checker Chart in the first shot can assure accurate color in the shots that follow:
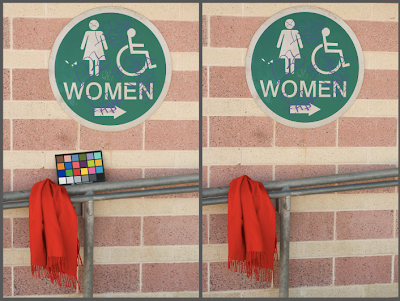
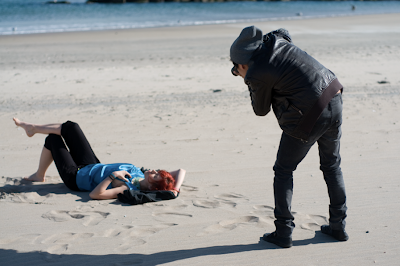
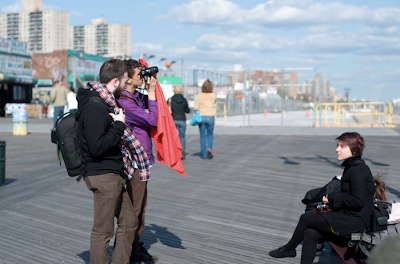
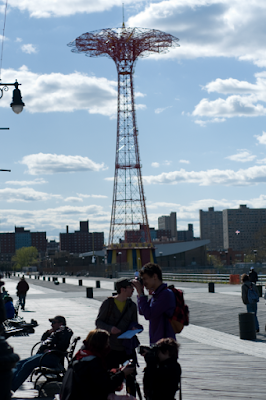
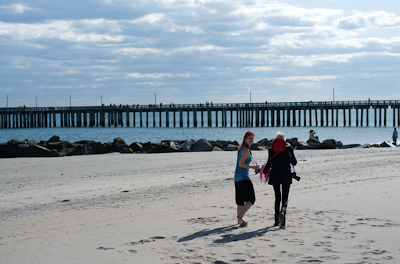
Loreal modeling for Jesus in a teal satin dress:
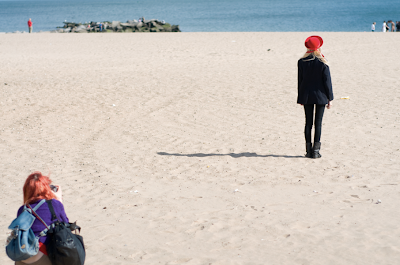
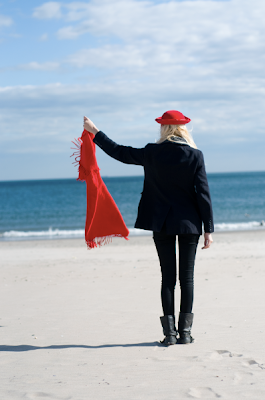
Jessica posing for Loreal in a red hat:
HW Due April 19 : 5 Prints

Make a total of five (8x10) Prints of *THE SAME IMAGE* at Adorama. 8x10 Prints at Adorama are $1.28, so you’ll spend less than $10 for this assignment. Make sure you do not check the box that says “let adorama color manage my image”.

*To change the color profile of a certain document, go to Edit > Convert to Profile. Always convert from the original Adobe RGB 1998 Document and “Save AS” a duplicate copy. Title the duplicate by what color space you applied to it.

Print 1: Luster Paper, sRGB color space
Print 2: Matte paper, sRGB color space
Print 3: Glossy Paper, sRGB color space
Print 4: Glossy paper, Adobe RGB 1998 color space
Print 5: Glossy Paper, ICC profile for Glossy Paper

**make sure you write text in Photoshop small at the bottom of your print the profile each image is using.

Download the Adorama profiles here (Glossy Endura) http://www.adoramapix.com/Support.aspx?SupportID=prepcolor

Sunday, April 11, 2010

Wednesday, April 7, 2010

HW Due April 12

Homework for next week is to catch up on any missing assignments and to bring in digital RAW files to work on in Photoshop. We will be meeting in the computer lab at the beginning of class: C230. Bring some portraits as we will be doing portrait/skin retouching as well as a selection of other favorite "portfolio worthy" images you've shot recently. You will be asked to print one of the images that we retouch for the following week's class, so bring images you love!

Monday, April 5, 2010

Student Work of the Week: Midterm Projection Images

By Paul:


By Nicole:

By Loreal:

Artists Who Use Projection

Kara Walker

Shimon Attie


Ross Ashton


Paul shared this link to a video of Projection & Moving Image
http://www.youtube.com/watch?v=9JxueLIIM4E&feature=fvst

Photoshop, Part 1

Here is the handout from Class on April 5, when we went to the computer lab and practiced processing RAW files in Photoshop:

Raw vs. JPG

A RAW FILE is a record of the data captured by the sensor. While there are many different ways of encoding this raw sensor data into a raw image file, in each case the file records the unprocessed sensor data. The sensors simply count photons—they produce a charge that’s directly propor¬tional to the amount of light that strikes them.
Color filter array cameras use a two-dimensional area array to collect the photons that are recorded in the image. The array is made up of rows and columns of photosensitive detectors—typically using either CCD (charge-coupled device) or CMOS (complemen¬tary metal oxide semiconductor) technology—to form the image.

RAW vs. JPEG
When you shoot JPEG, a raw converter built into the camera does automatic processing of the raw image (in camera) and then compresses it using JPEG compression.
Taking a raw image is like taking a picture shooting with negative film. There are so many options because you can always make a better print using the original negative. Taking a JPG is like scanning a print. You can only do so much to improve the image. You’d have many more options if you had access to the original negative.
You are able to draw on all the original information captured by the sensor if you shoot RAW, but not if you shoot jpg or tiff.